INDUSTRIAL NEWS
Step-by-Step Guide to Cutting Acrylic with a CO2 Laser
CO2 laser machines have become indispensable for precise acrylic cutting, whether for hobbyist projects or large-scale commercial applications. Using machines like those from MYounglaser, cutting acrylic can be efficient, accurate, and produce polished results. This guide provides a detailed, step-by-step process for cutting acrylic using a CO2 laser machine, ensuring you achieve stunning designs every time.
Step 1: Prepare Your Design File
Before you begin cutting, your first step is to create a design using vector-based software such as Adobe Illustrator, CorelDRAW, or AutoCAD. CO2 laser machines rely on vector files (e.g., .DXF, .AI, .SVG) to plot the cutting path. Ensure your design meets the following criteria:
- Line thickness: Typically, laser cutting software interprets lines below 0.001 inches as cutting lines.
- Closed paths: Ensure all paths in your design are closed to avoid incomplete cuts.
- Layer differentiation: If your design requires engraving and cutting, set different layers and colors to designate which parts will be engraved versus cut.
Step 2: Choose the Right Acrylic Type and Thickness
Selecting the right acrylic for your project is crucial. There are two types of acrylic commonly used for laser cutting: cast acrylic and extruded acrylic.
- Cast acrylic is ideal for laser cutting as it produces cleaner cuts and better edge finishes.
- Extruded acrylic is cheaper but prone to producing burrs or melt marks due to its lower melting point.
Recommended Thicknesses for CO2 Laser Cutting:
- 40W – 60W machines: Can cut up to 5mm thick acrylic sheets.
- 80W – 150W machines: Handle sheets up to 10mm thick.
- 200W and above: Can cut through sheets as thick as 20mm or more.
For most hobbyist projects, 3mm to 5mm thick cast acrylic is preferred due to its durability and aesthetic finish.
Step 3: Machine Setup
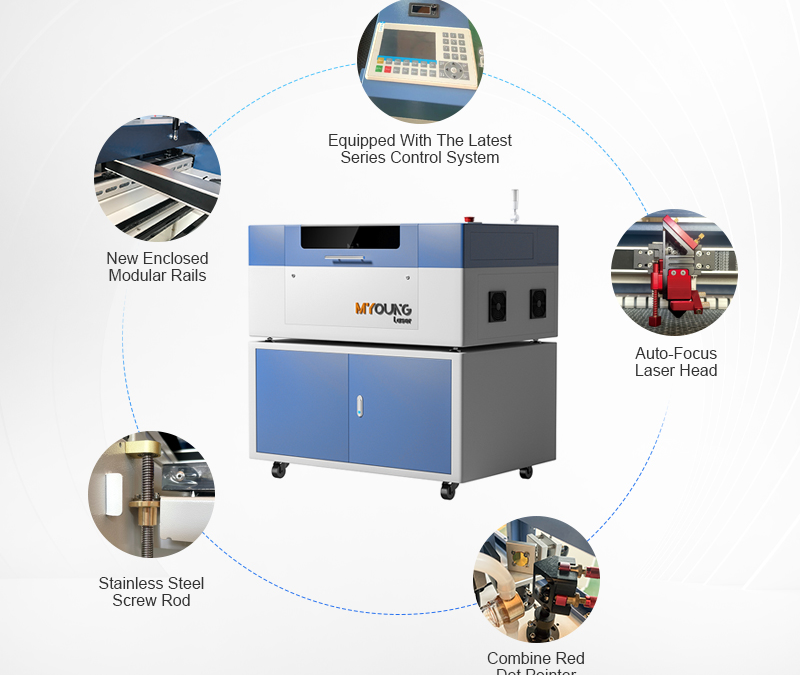
Proper setup of your MYounglaser CO2 laser machine is vital to ensure precise and efficient cutting. Follow these steps for optimal setup:
- Clean the machine: Dust or debris on the laser lens or mirrors can impact the beam’s accuracy and intensity.
- Adjust focus: Use the machine’s focus gauge to ensure the laser is set at the correct height above the acrylic. Proper focus results in cleaner cuts and less material burn.
- Enable air assist: Air assist directs a stream of air toward the cutting surface, removing debris and cooling the acrylic to reduce the chance of flame or scorching.
- Ventilation: Acrylic releases fumes when cut, which can be harmful and reduce visibility. Make sure your machine’s ventilation system or exhaust is working effectively.
Step 4: Setting Laser Parameters (Power, Speed, Frequency)
The cutting quality of your CO2 laser machine greatly depends on the right combination of laser power, speed, and frequency. The settings vary depending on the machine’s wattage and the thickness/type of acrylic.
Example Settings for 5mm Cast Acrylic with 100W CO2 Laser:
- Power: 80-85%
- Speed: 10-15 mm/sec
- Frequency: 5,000 Hz
For thicker acrylic, lower the cutting speed and increase the power. For engraving, increase the speed but decrease the power to prevent over-cutting.
General Rule of Thumb:
- Higher power settings are used for deeper cuts or thicker acrylic sheets.
- Slower speeds allow for more accurate cuts, especially for intricate designs.
- Frequency settings typically range between 1,000 and 20,000 Hz depending on the material. For acrylic, a mid-range frequency (around 5,000 Hz) works best.
Step 5: Perform a Test Cut
Before cutting your full design, it’s crucial to run a test cut on a scrap piece of acrylic to ensure your settings are correct. This step helps avoid material wastage and provides an opportunity to fine-tune any settings.
- Key factors to check:
- Edge smoothness: Are the edges clean, or do they show signs of melting?
- Cut through: Is the cut complete, or are there parts still attached?
- Material discoloration: Has the acrylic burned or shown signs of over-heating?
If the edges are rough or the material shows burn marks, adjust the speed and power settings to achieve a smoother cut.
Step 6: Cut the Acrylic
Once your machine is set up and the test cut is successful, you can proceed to cut your design. Make sure the acrylic sheet is securely placed on the machine bed to prevent shifting during the cut.
- Monitor the process: Keep an eye on the machine during the cutting process to ensure no issues arise, such as material shifting or misalignment.
- Adjust speed for intricate parts: If your design has intricate or small parts, consider lowering the speed further to allow for better precision.
Step 7: Post-Processing
After cutting, the edges of the acrylic might need some post-processing, depending on the level of polish you want.
- Remove the protective film: Most acrylic sheets come with a protective film on both sides to prevent scratches. Remove it after cutting.
- Clean the edges: You can use isopropyl alcohol and a soft cloth to remove any residue or dust left on the edges.
- Flame polishing: For ultra-smooth and glossy edges, consider using a flame-polishing tool, which melts the edges slightly, giving them a glass-like finish.
Common Issues and Troubleshooting
- Melting or Burning of Acrylic: If you notice burn marks or melted sections, reduce the power and increase the cutting speed slightly. Melting is a sign that the laser is applying too much heat.
- Incomplete Cuts: If the laser isn’t cutting through the entire material, increase the power or slow down the cutting speed. Also, double-check that the focus is correctly adjusted.
- Rough Edges: This can occur due to incorrect focus, dirty lenses, or improper power/speed settings. Clean your machine, adjust focus, and tweak the laser parameters to achieve smoother results.
By following this detailed step-by-step guide, you can harness the power of a CO2 laser machine to create high-quality acrylic designs with precision. MYounglaser’s range of CO2 laser machines is perfect for cutting acrylic, and with the right preparation and settings, you can achieve smooth, polished results for various projects. Whether you’re cutting simple shapes or intricate designs, this guide will help you maximize your machine’s potential.


